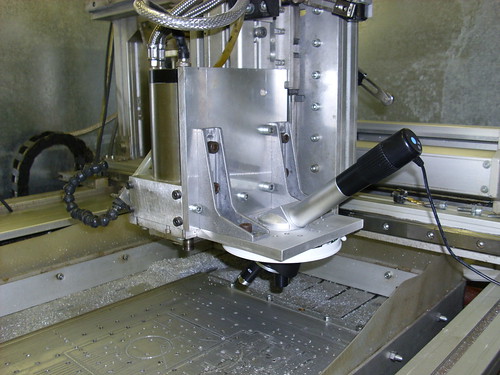
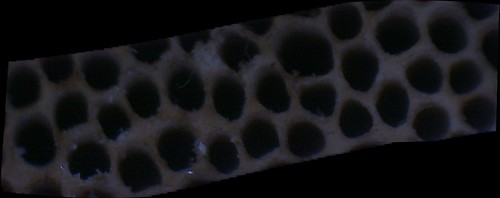
Tinder Fungus, a photo by Diehtmar Graumann on Flickr.Hier nun das erste Testbild des Mikroskop”Anbaus” an meiner CNC Fräse.
Aus vielen,vielen Einzelbildern wurde mittels Stitching-Software dieses Bild zusammengefügt.
Abgebildet ist ein Ausschnitt ei…
Hier nun das erste Testbild des Mikroskop"Anbaus" an meiner
CNC Fräse.
Aus vielen,vielen Einzelbildern wurde mittels
Stitching-Software dieses Bild zusammengefügt.
Abgebildet ist ein Ausschnitt eines
Zunderschwamms.
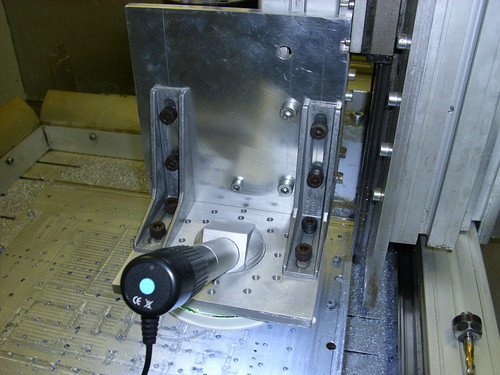
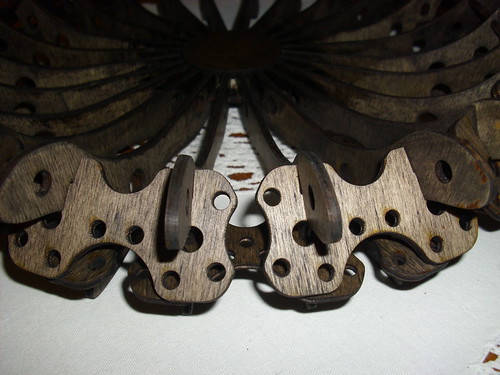
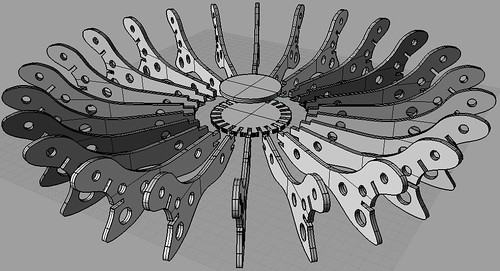
Die Beleuchtung ist eigentlich eine Sonnenschirm-LED-Lampe vom
Aldi, kurzerhand wurde der Radius dem Mikroskophals angepasst und der ganze Kram mit dem abgesägten
Traveller-Mikroskop (ebenfalls vom Aldi) verklebt... Ein paar Aluplatten gewähren den winkeligen Anbau an der Fräse..